When you click on links to various merchants on this site and make a purchase, this can result in this site earning a commission. Affiliate programs and affiliations include, but are not limited to, the eBay Partner Network.
Just a note?
All my plastic cooling pipes and water pump were replaced free under my factory warranty?
.
.
.
Yes, covered by manufacturer but aftermarket insurance companies typically classify pipes and hoses as wear items UNLESS it's an EXCLUSIONARY policy which covers EVERYTHING except what's specifically stated as NOT covered.... read the FINE print.
This procedure was discussed and done to my and several other JLR cars about a year ago and in my specific case, about 5,000 miles ago. It is written up beginning on page 12 of this thread.
Let me try again to be absolutely clear with hopefully clarifying some false assumptions made about this procedure.
Only two (2) parts are required to be removed. Just two.
1. MAS
2. Water pump
The supercharger snout does not get removed. However, I am not trying to tell you what to remove on your car. I am only trying to convey that in the procedure that was used on my car does not require anything to be removed but the two parts I have identified above. If you feel in your case that you have to remove the snout, the radiator shroud, the hood and anything else that is entirely up to you.
My point, again, is that this procedure works and has proven itself viable with many JLR vehicles. I have no dog in this race and it makes no matter to me what you choose to remove. I am only trying and have been trying, to provide another alternative to the ridiculous prices some folks have been quoted to do this job.
As an aside. The radiator shroud only needs to be removed on Rovers due to a design of getting to the water pump. F-Types do not require this.
I've begun the disassembly process. The throttle body DOES have to be removed to get to the left screw (along with top pipe). With the TB out of the way, that screw's now accessible, not easily, but can be removed with various joints and extensions. Haven't figured out a way to the right side screw yet but will update.
Hopefully this confirmation and evidence settles this once and for all...
Also forgot to previously mention the accessory belt tensioner must be removed to remove the water pump as it blocks the lower left screw.
So with the throttle body, water pump and top pipe removed, as mentioned above the LH Y-pipe screw's accessible, small working space, but likely doable.
As I recalled from doing this many times previously the RH Y-pipe screw CAN NOT be removed this way as it's ENTIRELY NOT accessible, for one thing it's behind the pipe AND the supercharger snout's in the way both from the left (driver's) side AND the top AND the RH engine head's too close to the pipe to fit anything between them. Removing the water pump and throttle body does not provide any easier access to this screw either.
As videos and other statements have indicated, with the snout removed, that screw IS accessible but it worth the additional labour via that method VS just removing the entire assembly?
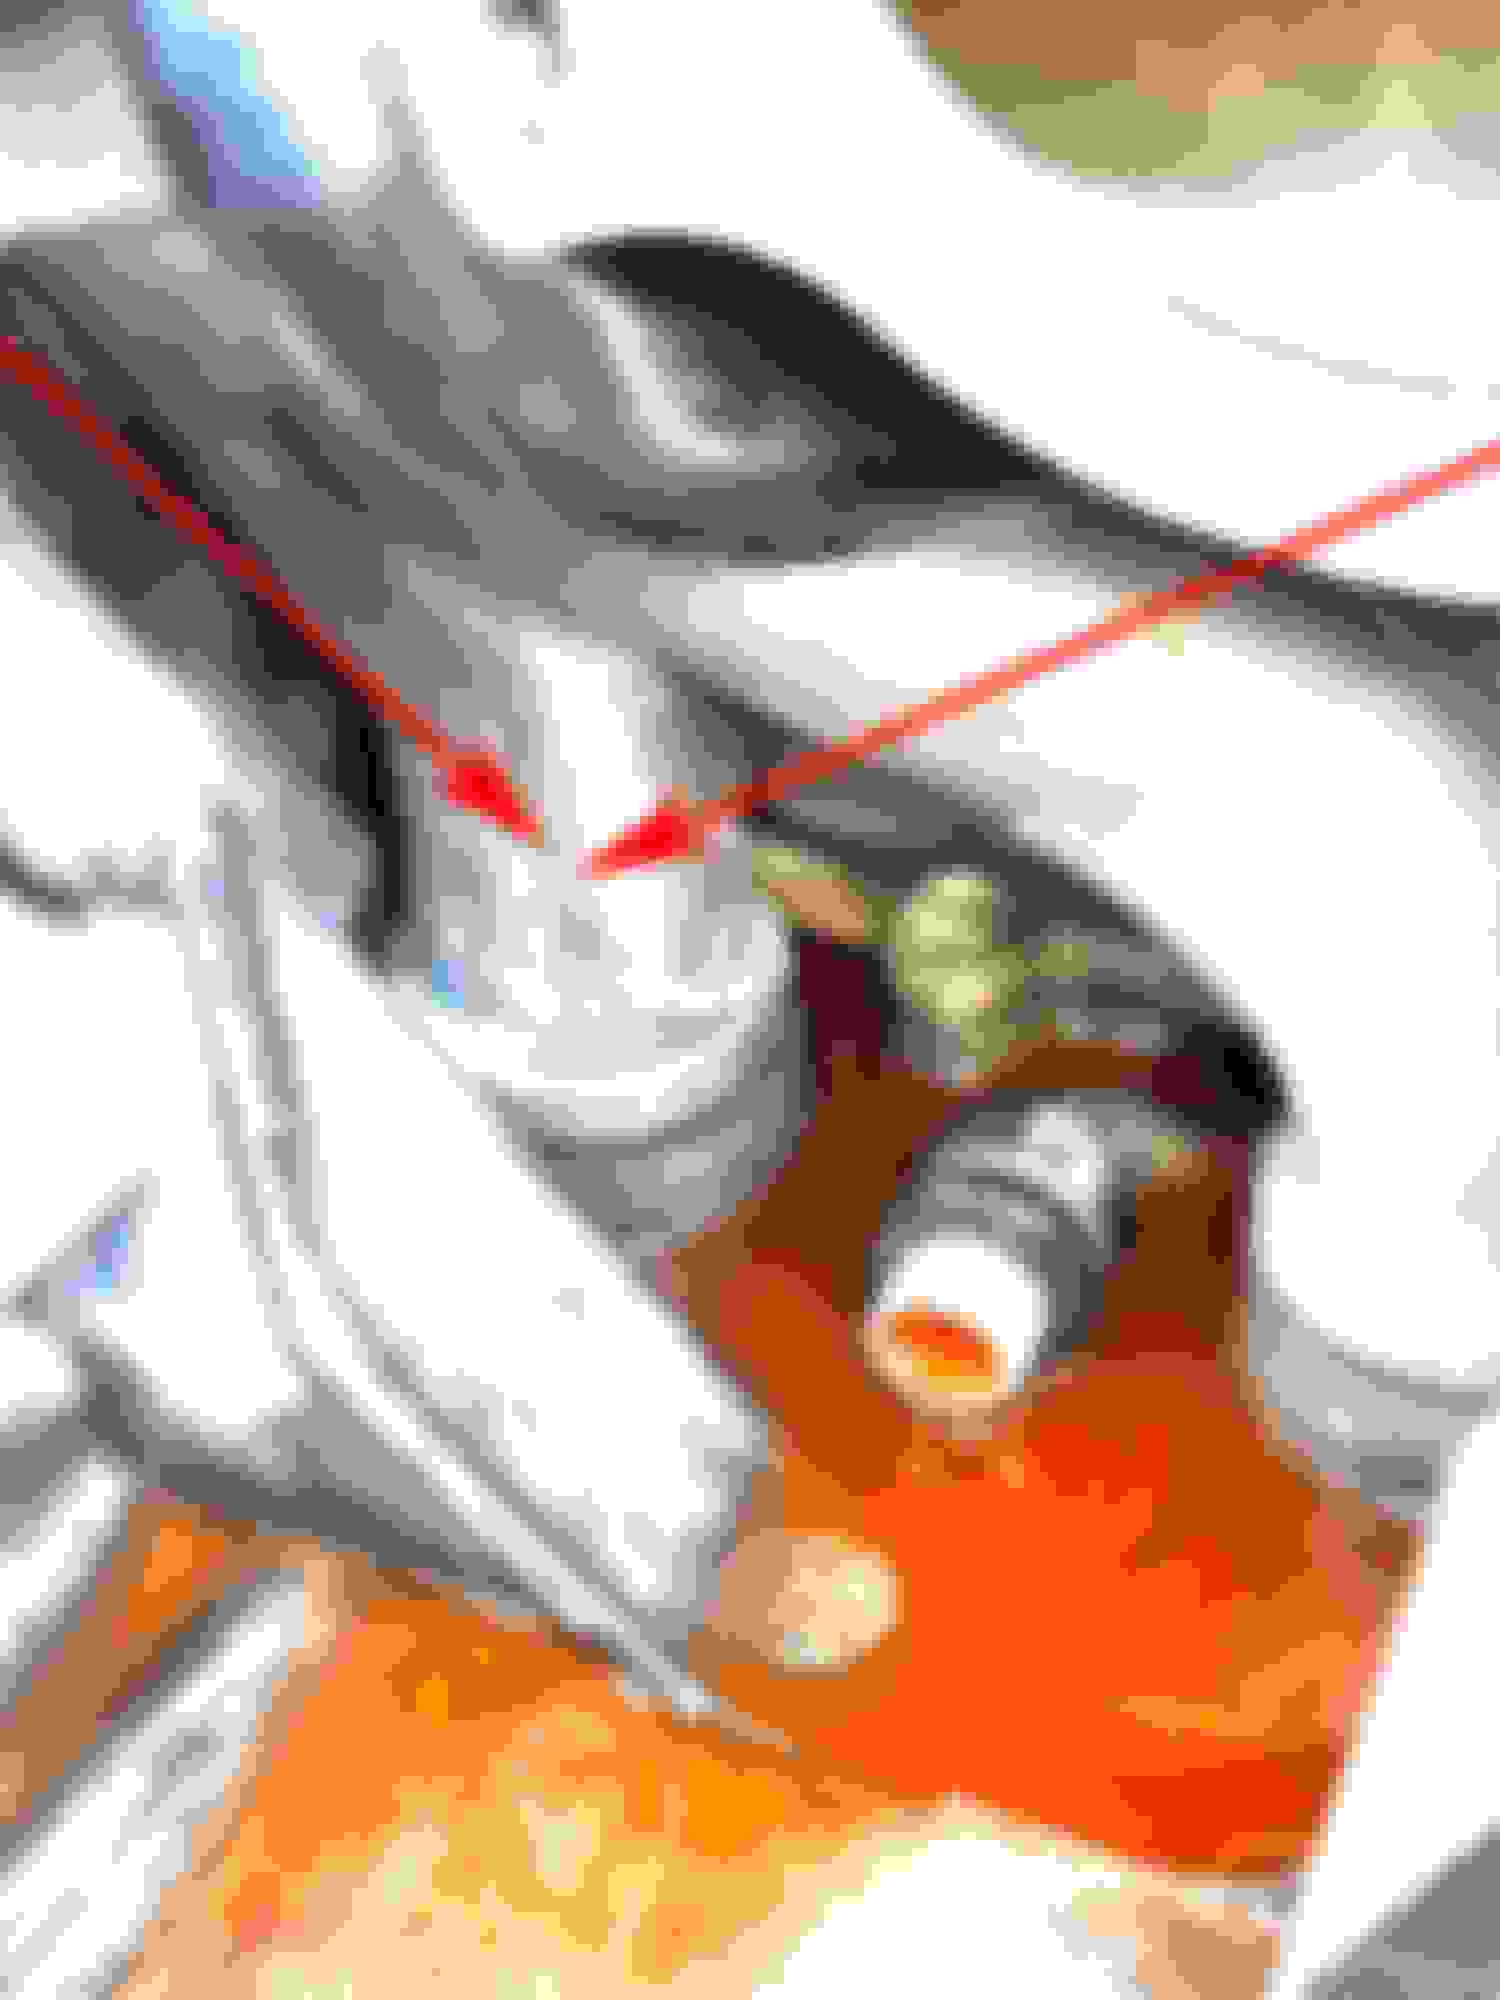
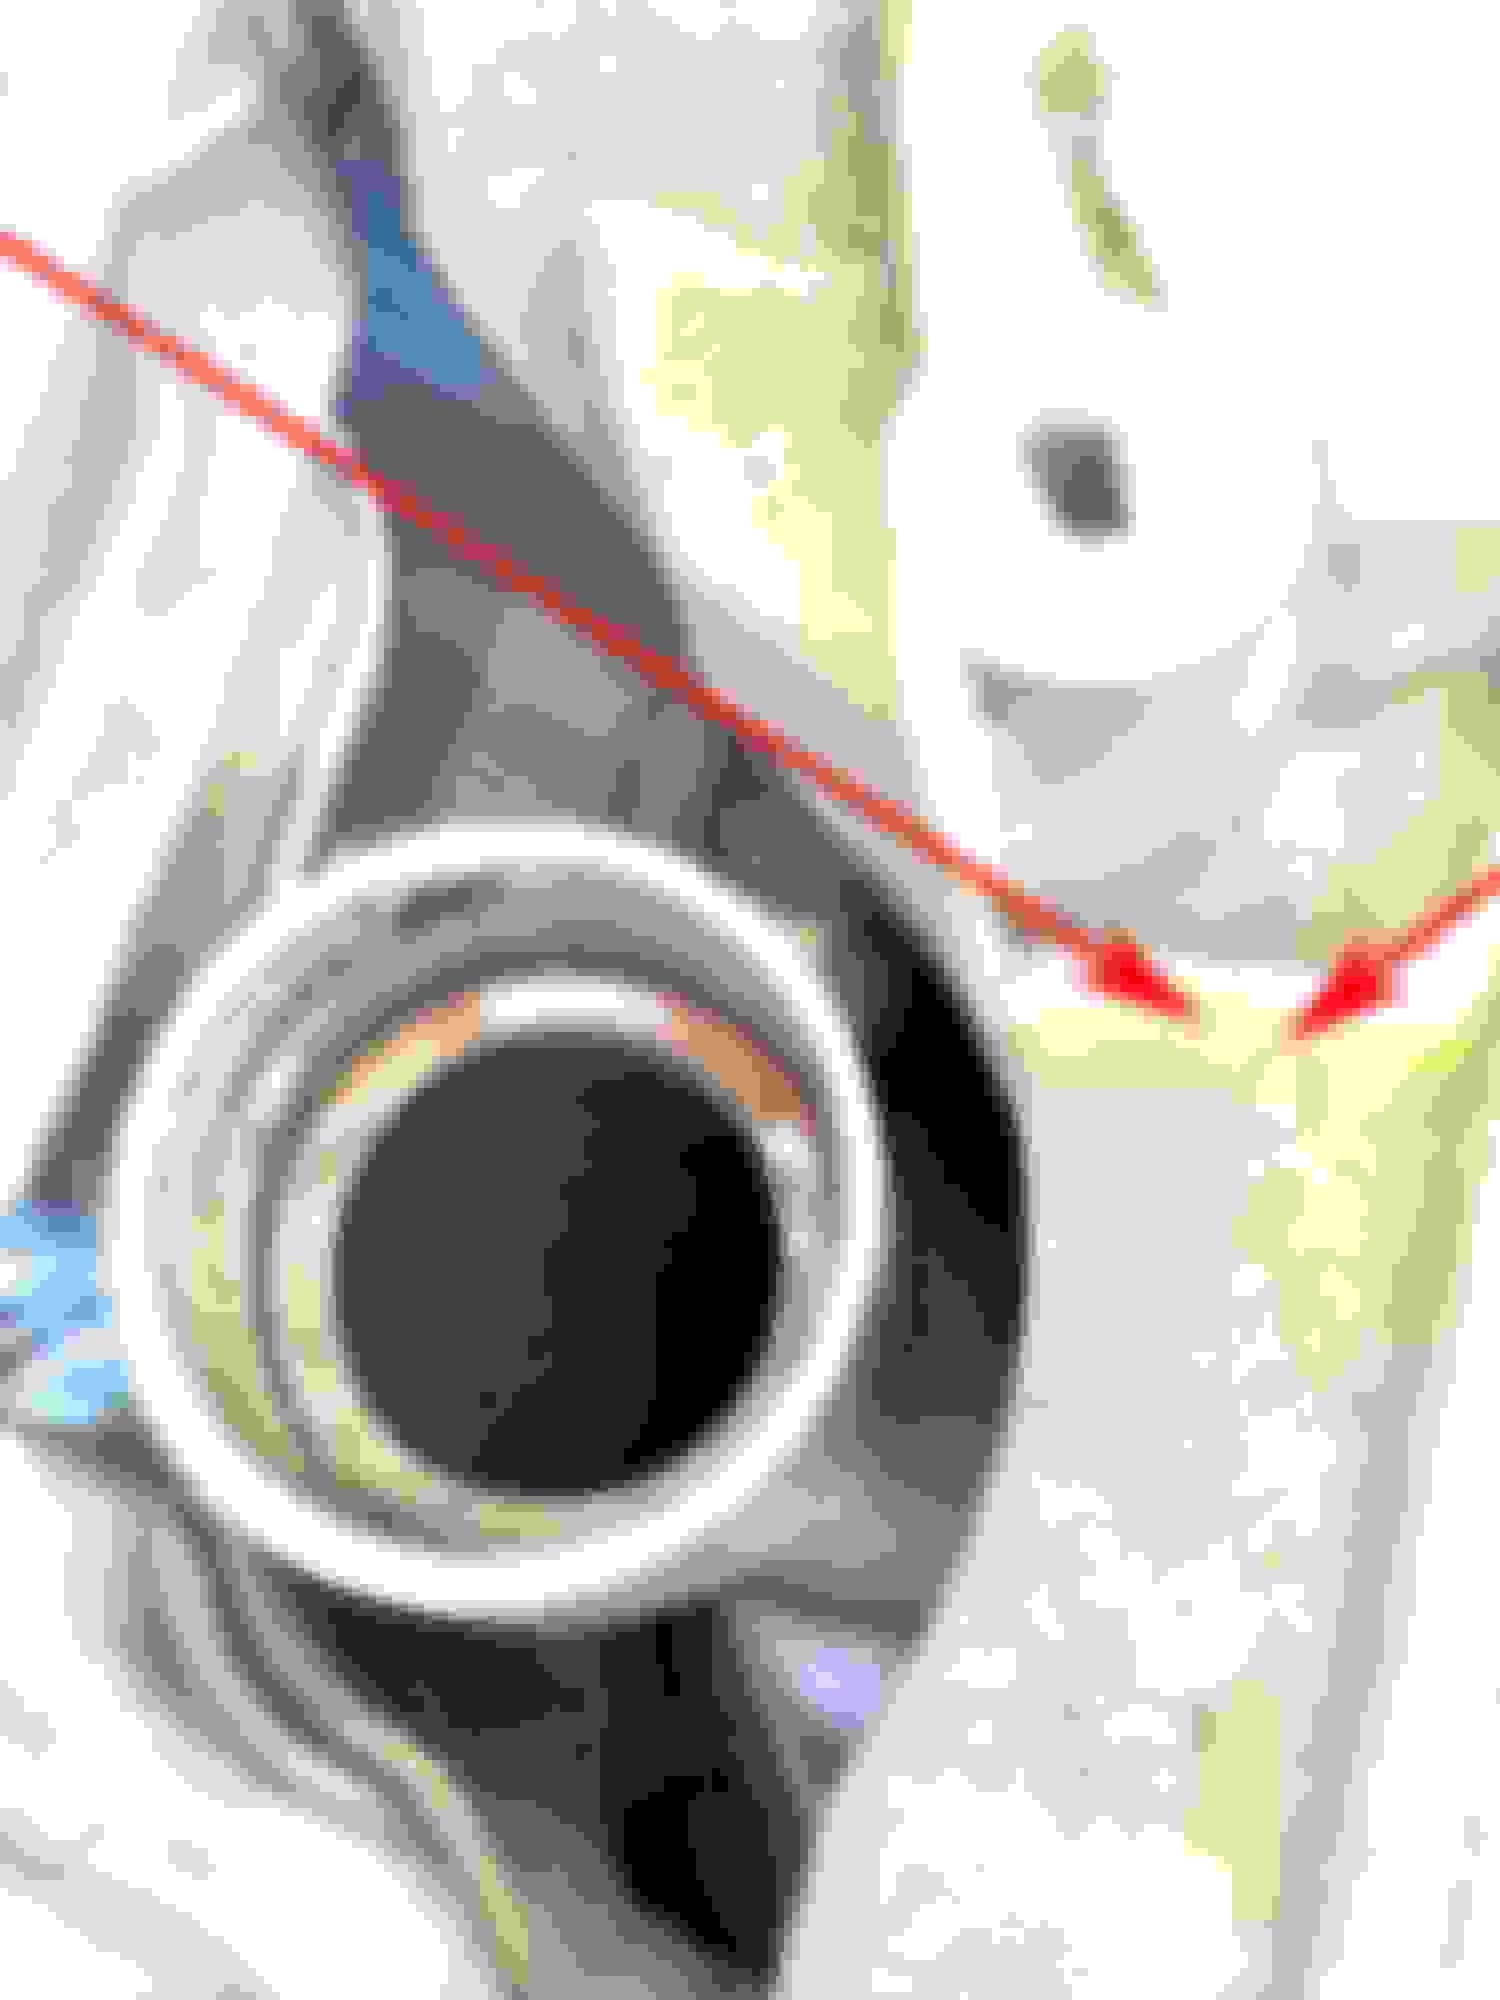
See the pics for proof.... The red arrows indicate where the screw's located.
More pics below showing the screw and location - top view with supercharger removed showing the screw and how impossible access is with the supercharger in place and top view with everything in place with arrows indicating where the screw's located under the snout.
The mechanic video mentioned using an elbow and a 30. I assume the 30 is the Torx size 30 socket and maybe the elbow is a right angle socket adapter. Did you see if any "elbows" might fit in there and be workable?
The mechanic video mentioned using an elbow and a 30. I assume the 30 is the Torx size 30 socket and maybe the elbow is a right angle socket adapter. Did you see if any "elbows" might fit in there and be workable?
Mike
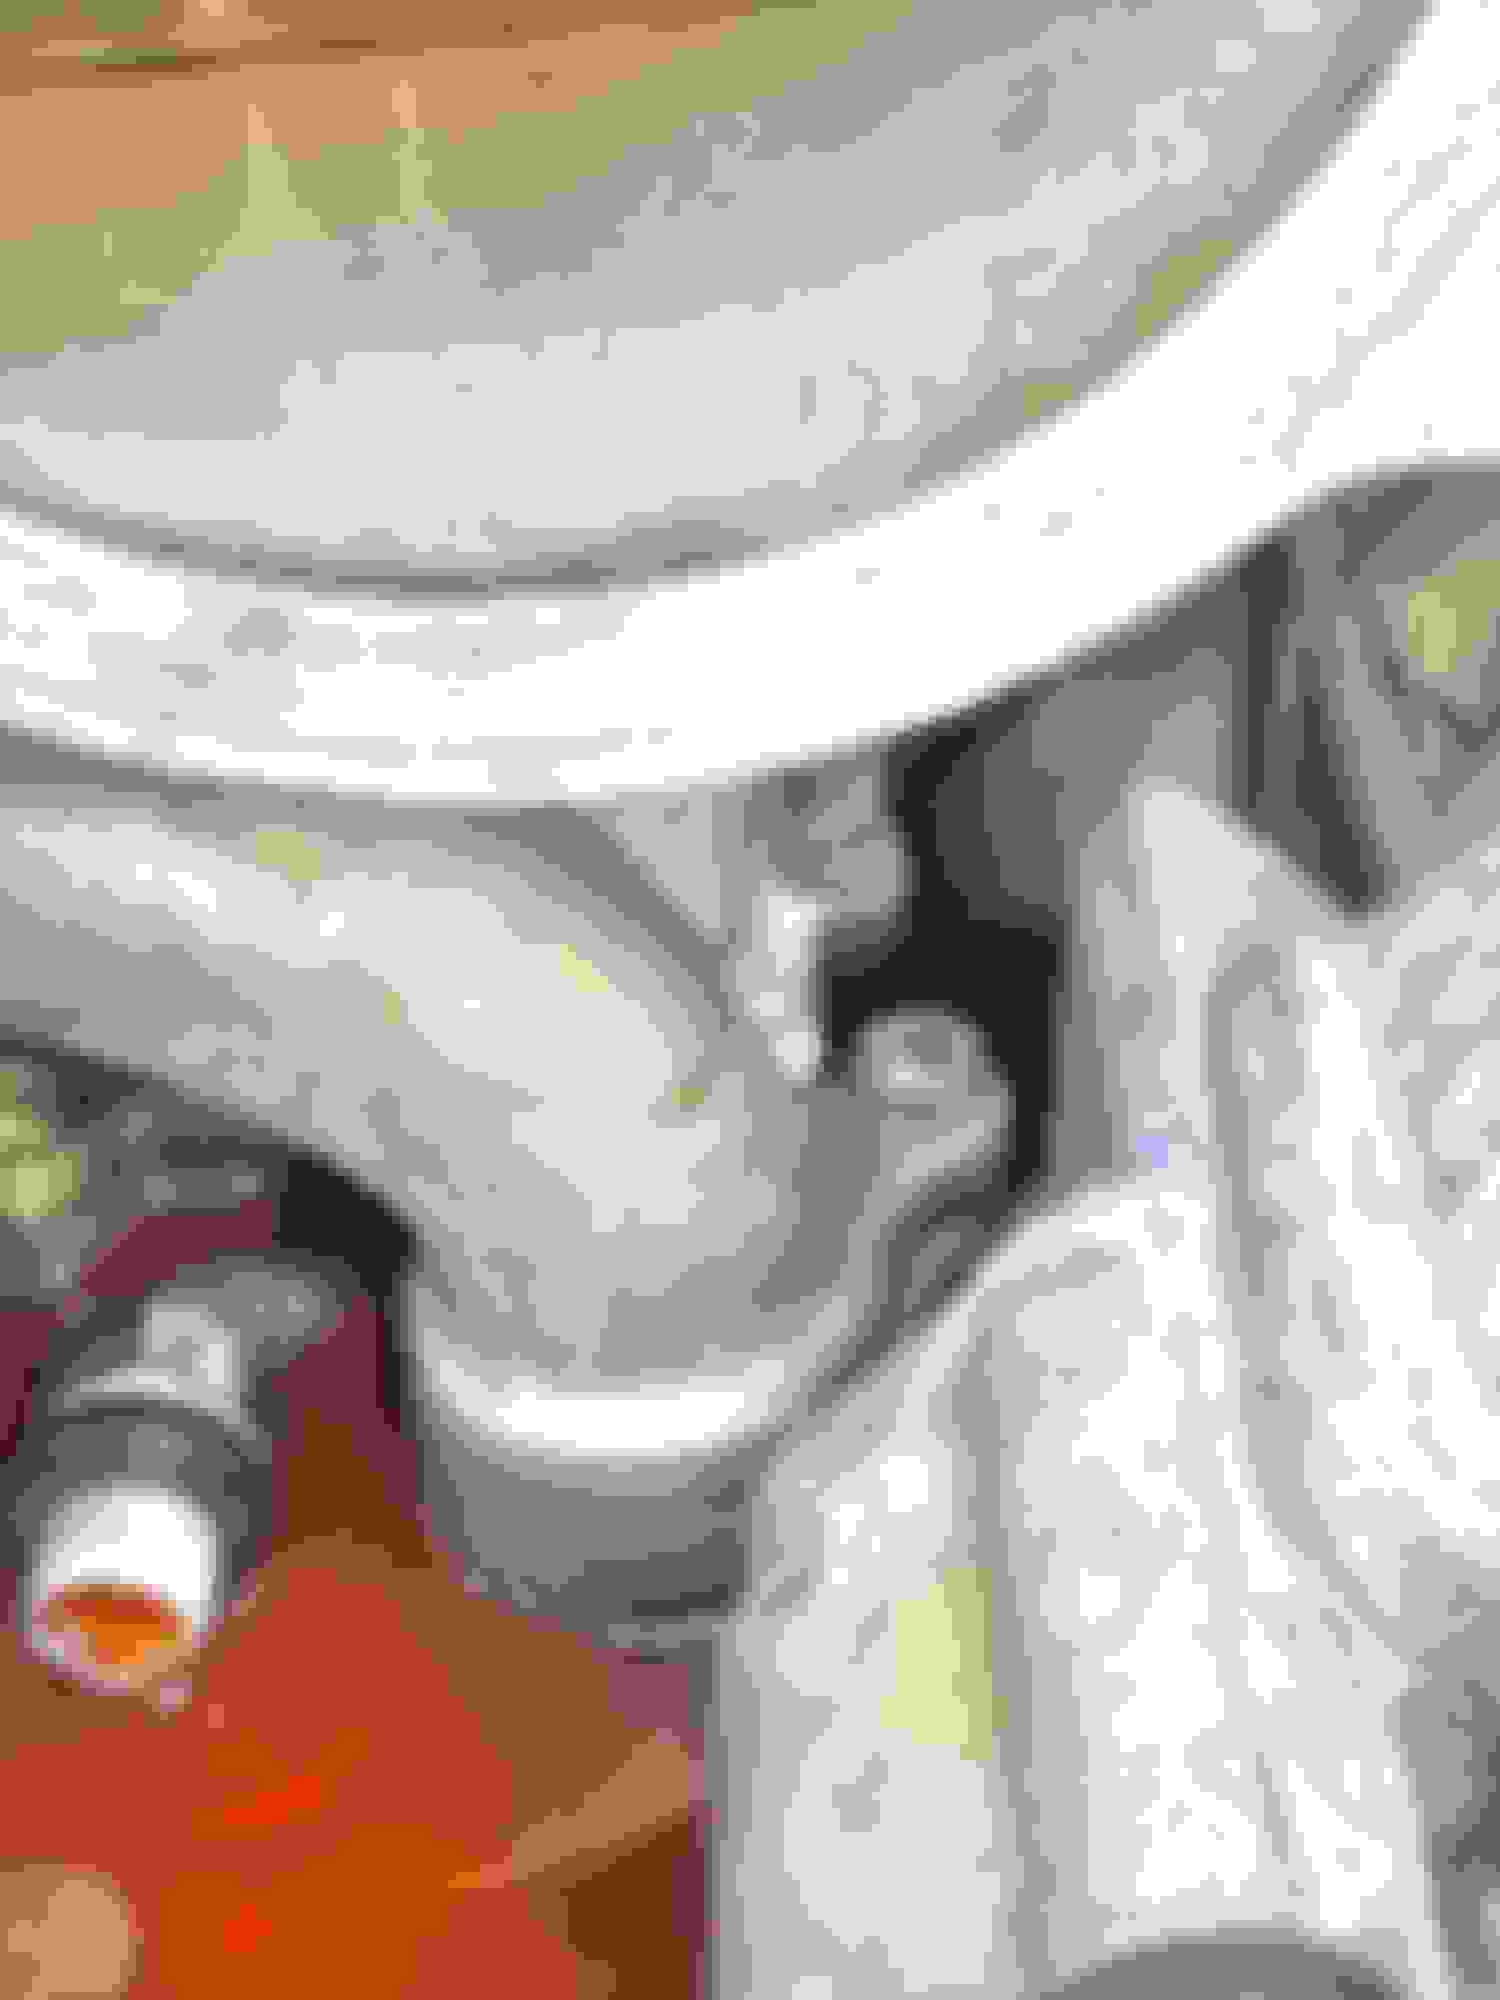
Yes, that's how you get to the left screw. Perhaps it's hard to tell in the pics, but the right screw's on the backside of the pipe and the supercharger's on top of the screw. The gap between the top of pipe and the supercharger's only a couple of MMs PLUS the screw's not ibelow the gap, it's under the supercharger AND that's from the top where nothing would need to be removed anyway IF it was even possible. With the water pump out as you can see in the pics, you can see the front side of the pipe, the gap between the oil cooler and the pipe's only a few MM and the gap between the pipe and the cylinder block's also only a few MMs. NO tools would ever fit, and then you'd be reaching the screw on the backside of the pipe blindly and you'd never be able to get the screw out if it could even be unscrewed. I've been working on cars for over 20 years, have tons of tools. I'm confirming this is NOT possible to do.
The mechanic video mentioned using an elbow and a 30. I assume the 30 is the Torx size 30 socket and maybe the elbow is a right angle socket adapter. Did you see if any "elbows" might fit in there and be workable?
Mike
Here's pics with the access points I referenced. Again the circled gaps on either side of the pipe are only a few MMs.
This procedure was discussed and done to my and several other JLR cars about a year ago and in my specific case, about 5,000 miles ago. It is written up beginning on page 12 of this thread.
Let me try again to be absolutely clear with hopefully clarifying some false assumptions made about this procedure.
Only two (2) parts are required to be removed. Just two.
1. MAS
2. Water pump
The supercharger snout does not get removed. However, I am not trying to tell you what to remove on your car. I am only trying to convey that in the procedure that was used on my car does not require anything to be removed but the two parts I have identified above. If you feel in your case that you have to remove the snout, the radiator shroud, the hood and anything else that is entirely up to you.
My point, again, is that this procedure works and has proven itself viable with many JLR vehicles. I have no dog in this race and it makes no matter to me what you choose to remove. I am only trying and have been trying, to provide another alternative to the ridiculous prices some folks have been quoted to do this job.
As an aside. The radiator shroud only needs to be removed on Rovers due to a design of getting to the water pump. F-Types do not require this.
Hi George
Now that you've seen my pics and notes above, can you please reach out to your tech and show him this so he can provide a clear and specific explanation on how he was able to fit torx bits in a space not wide enough for a T30 to fit not even considering there's no straight or direct patch to the backside of the pipe where the bolt's located?
It could be be very helpful to some users who don't feel comfortable removing the supercharger.
Spoke to my tech today and he has provided me (you) with two short videos which I hope will help you conceptualize the procedure. He just uses an extension to go straight down to the bolt you are having a problem with. He is not sure why you are having a problem with that as he says it is a straight shot.
Spoke to my tech today and he has provided me (you) with two short videos which I hope will help you conceptualize the procedure. He just uses an extension to go straight down to the bolt you are having a problem with. He is not sure why you are having a problem with that as he says it is a straight shot.
Thank you so much George! Really appreciate you posting this, may help others a lot.
I can see that he removed the RH screw without the need for removing the water pump or throttle body, he went straight down from the top. However, for what ever reason, the screw on mine's not straight down, it's to the left and under the supercharger snout. If I were to go down between the pipe and the head, I hit the side of the head, if I go to the other side, I would hit the Y of the pipe. The intercooler also hangs over this space to further add to the challenge. Also the gap between the throttle body inlet and the base of the V of the block where the oil cooler sits on mine is way smaller than what I see in the video. Here's another of my pics for clarification. Also, there was no way to maneuver the Y pipe out or in through that space on mine.
I've got the AJ126 3.0 litre SCV6 that's been fitted to JLR's since 2012, not sure what engine's in his videos. May be that's the difference?
EDIT: Just re-watched the videos a few more times, the engine in the videos looks nothing like mine so that must be the reason.
I understand what you are saying and can see why you may not be able to easily get to that bolt. My tech is coming over this weekend to do a few modifications to my car and I will show him your pictures and will help him hold and position the camera so perhaps we can get some better shots. Knowing him, he is going to say your car was made on a Tuesday and mine on a Wednesday hence the difference.
Two massive differences, between my engine and the video, see the screenshots. Look at the top of his y-pipe and where it's located and then look at mine, they're nothing alike. Mine's in a very tight spot, the super charger snout wraps around mine plus the intercooler on top, in the video there's the base of the snout's behind the pipe with lots of room and no intercooler sitting on top of the RH side of the pipe like mine.
Then there's the distance between the supercharger inlet and the water pump inlet, in the video there's a great distance between the two indicating the super charger snout's further away from the base of the V creating a much larger hole. On mine, the supercharger inlet's nearly on top of the water inlet with no gap.
Difference in height?, I hate to say it but if you can�t reach that thirty torx back there you may want to stop wrenching. It�s a straight shot down, as I tried to mention before you can use a long 30 torx bit with a bit driver and you can access it. Now the only difference is that Jaguar xj in this case had metal pipe in 2010 through 2012 you could cut through the y pipe if you are having difficulty accessing the screw and I would recommend you do so the y piece can come through the water pump hole in two pieces..in the video I also demonstrate how the new two piece JLR crossover pipes fit and the aluminum ones as well. Want me to show you on another engine we got these down to about thirty minutes now unless we have to remove the rear crossover pipes in which that case we just remove the supercharger and just add another 30 minutes
...we got these down to about thirty minutes now unless we have to remove the rear crossover pipes in which that case we just remove the supercharger and just add another 30 minutes
NA, not SC here, Jag and Rover, but yes. Not as time-consuming as the first time may once have been.
One variable might be the level of tooling the worker-bee already keeps close to-hand, ELSE is not even aware exists?
Just as one has to have several different types of any given size hex wrench or Allen key, the same is true for Torx.
Tall, short, extra short, extra long, super long, low-profile rise, etc. are not a luxury, they are a necessity.
If you have the whole arsenal in-hand, selecting what works is fast and painless.
If not, not.
 04-13-2024, 09:04 AM